 Blaine Siding
 Why Birch Bay Siding Takes More Punishment Than Most
Birch Bay sits right on the water, which means homes here deal with a combination of stressors that inland Whatcom County properties simply don't see. Salt-laden air off the bay works its way into seams, fasteners, and any exposed wood trim, accelerating corrosion and finish breakdown. Add driving rain that comes in sideways during winter storms, plus a shoulder season that stays damp and shaded long enough to grow moss and algae on north-facing walls, and you have a climate that will find every weakness in a siding system within a few years, not a few decades.
We install siding on homes throughout this stretch of the county, and the pattern is consistent: houses close to the water fail faster than houses a mile inland, and the failures almost always start at the same places — butt joints that weren't caulked correctly, fastener heads that were left exposed, and bottom courses that sit too close to grade or hardscape and never fully dry out. A correct installation addresses all three before the first storm season, not after problems show up.
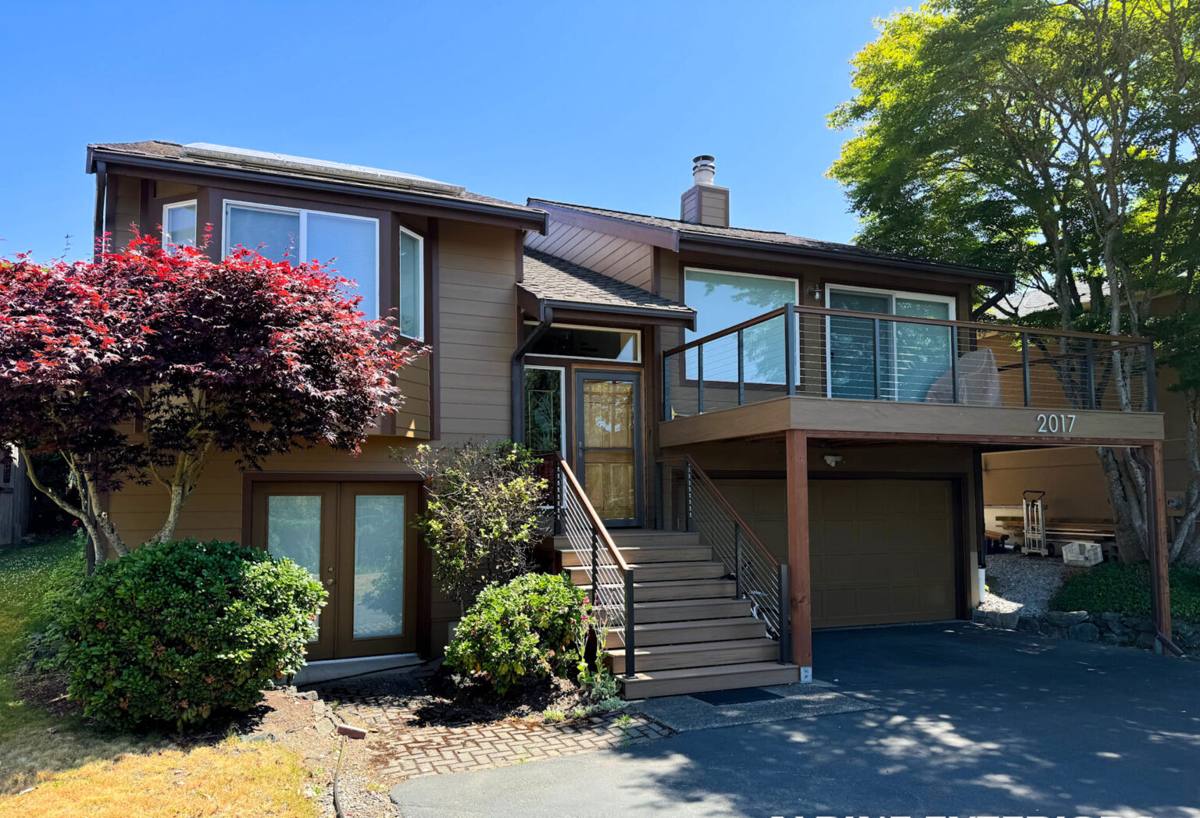
What Salt Air and Moss Actually Do to Siding
Salt Air
Airborne salt is hygroscopic — it pulls moisture out of the air and holds it against whatever surface it lands on. On metal fasteners and trim, that means accelerated rust and staining. On wood-based siding products, it means the surface stays damp longer between rain events, which speeds up rot at seams and cut edges. On painted surfaces, salt residue can dull and chalk a finish faster than a similar house set back from the water.
Moss and Algae
Birch Bay's tree cover and marine-layer humidity keep some wall faces shaded and damp for long stretches of the year, especially through fall and winter. Moss and algae don't just look bad — they hold moisture against the siding surface, which is exactly the condition that causes rot in wood-based products and accelerates coating breakdown on lower-quality composites. Siding that can't shed water quickly, or that has a surface texture and finish that trap grime, will green up faster and need more frequent cleaning to stay ahead of it.
Driving Rain
Wind off the bay pushes rain sideways into wall assemblies, not just straight down. That means water-resistive barrier detailing, flashing at windows and penetrations, and proper siding overlap matter more here than they would on a sheltered inland lot. A siding product can be excellent and still fail prematurely if it's installed without accounting for wind-driven rain.
Why We Only Install James Hardie Fiber Cement
We made a decision to standardize on James Hardie fiber cement siding for every installation we do, including every job in Birch Bay. We don't install vinyl, LP SmartSide, primed spruce, cedar, or other fiber cement brands. That's not a marketing position — it's a practical one, based on what holds up in this specific climate.
- Non-combustible: Fiber cement won't ignite from wildfire embers or exterior flame exposure the way wood-based products can.
- Moisture-engineered for this region: James Hardie's HZ5 product line is formulated for the cold, wet Pacific Northwest climate, which matters more in a marine environment like Birch Bay than in drier parts of the state.
- Factory-cured ColorPlus finish: The finish is baked on at the factory under controlled conditions, which holds color and resists fading, chalking, and salt-related dulling far better than field-applied paint on wood siding.
- Dimensionally stable: Fiber cement doesn't swell, warp, or cup the way wood and some composite products can when they cycle between wet and dry repeatedly, which is exactly what happens on a bay-adjacent wall.
- Backed by a strong transferable warranty: When installed to manufacturer spec, the product is covered in a way that protects the homeowner, not just the installer.
We're not going to tell you other products are junk — vinyl is cheap and easy to maintain in the right setting, and cedar has a look plenty of homeowners love. But in a coastal, high-moisture, high-moss environment, the maintenance burden and long-term failure points of those products are real, and we'd rather stand behind one system we know performs here than install something we know we'll be called back to patch.
What a Correct Installation Involves
Siding is a system, not a panel. The product itself is only part of what determines how long it lasts on a Birch Bay home. Here's what we control on every job:
Water-Resistive Barrier and Flashing
Before any siding goes up, the wall needs a continuous, correctly lapped weather barrier, with flashing integrated at every window, door, and penetration so water is directed out and down, never trapped behind the cladding. This step is invisible once the job is done, but it's the single biggest factor in whether a wall stays dry over the next 20 years.
Fastening and Clearances
James Hardie has specific nailing patterns, fastener types, and clearance requirements — including how close siding sits to grade, roofing, and other hardscape — and those specs exist for a reason. Fasteners driven wrong, or siding installed too tight to the ground or a deck surface, are two of the most common causes of premature failure we see on homes that weren't installed by a Hardie-trained crew.
Joint and Seam Treatment
Butt joints and seams are where wind-driven rain gets in if they're not treated correctly — proper flashing behind joints, correct caulking where specified, and attention to how panels overlap at corners and transitions.
Trim and Transitions
Windows, corners, and roof-to-wall transitions are where most siding failures actually originate, not the flat field of the wall. These details take more time to get right, and they're where an experienced crew's attention shows.
Our Process for a Birch Bay Installation
- On-site assessment: We look at the existing siding, wall assembly, and specific exposure of your home — how close to the water it sits, which walls take the worst weather, and whether there's existing moss, staining, or rot that needs to be addressed before new siding goes up.
- Detailed estimate: You get a clear scope of work and pricing before anything starts, including which Hardie products and colors fit the home.
- Prep and removal: Old siding comes off, the wall sheathing is inspected for hidden moisture damage, and any necessary repairs happen before the new weather barrier goes on.
- Weather barrier and flashing installation: This is the step that determines long-term performance, and we don't rush it.
- Hardie siding installation: Installed to manufacturer specification for nailing pattern, clearances, and joint treatment.
- Final walkthrough: We review the finished work with you and make sure trim, caulking, and paint touch-ups are complete.
Why Hiring a Crew That Already Works Birch Bay Matters
A siding crew that mostly works inland jobs can install a product correctly by the book and still miss the details that matter specifically near the water — the extra attention to flashing on the windward walls, the clearance adjustments where moss and standing moisture are a known issue, the color choices that hold up better against salt residue. Crews that regularly work this part of Whatcom County have already seen what fails here and what doesn't, and that experience shows up in the small decisions made on-site, not just in the estimate.
Cost Factors for a Birch Bay Siding Installation
Every home is different, but the factors that most often move the price on a Birch Bay project are below. We'll walk through all of these in a free estimate.
| Factor | Why It Matters Here |
|---|---|
| Home size and wall complexity | More corners, dormers, and trim transitions mean more labor-intensive detail work |
| Condition of existing sheathing | Water intrusion from years of coastal exposure can mean hidden repairs before new siding goes on |
| Product line and profile | HardiePlank lap siding, HardieShingle, and panel systems carry different material and labor costs |
| Access and site conditions | Waterfront lots, steep grades, or tight setbacks can affect staging and labor time |
| Existing moss or rot remediation | Removing and treating affected sheathing before install adds time but protects the new siding |
Signs It's Time to Replace, Not Patch
- Soft or spongy spots when you press on the siding, especially near the bottom courses
- Recurring moss or algae growth that comes back within weeks of cleaning
- Visible gaps, warping, or cupping at seams and panel edges
- Paint or finish that's chalking, peeling, or fading unevenly across different walls
- Rust staining running down from fastener heads or trim
- Noticeably higher heating bills that suggest the wall assembly is no longer sealing properly
If you're seeing one or two of these, a repair might be enough. If you're seeing several at once, especially on the walls facing the water, it's usually more cost-effective to plan a full replacement before small problems turn into sheathing damage.
If your Birch Bay home is due for new siding, or you're seeing early signs of moisture or moss damage on the walls facing the water, we'll come take a look and give you a straightforward, no-pressure estimate for a James Hardie installation built for this exact climate.