 Blaine Siding
 New-Construction Windows Are a Different Job Than Replacement
Installing windows during new construction is not the same trade as replacing a window in an existing wall. On a new build, the opening is still raw framing. There's no old window to pull, no existing trim to match, and no finished interior to protect — but there's also no room for error, because the window installation becomes part of the wall's water management system before the siding ever goes on. Get it wrong here and the mistake gets buried behind trim and siding for the life of the house.
New-construction installation means coordinating the window sub with the framer, the weather-resistive barrier (WRB) installer, and the siding crew so that everyone's work laps correctly with everyone else's. In Dakota Creek, where homes sit close enough to the water to catch salt-laden wind and where the wet season runs long, that sequencing matters more than it does inland.
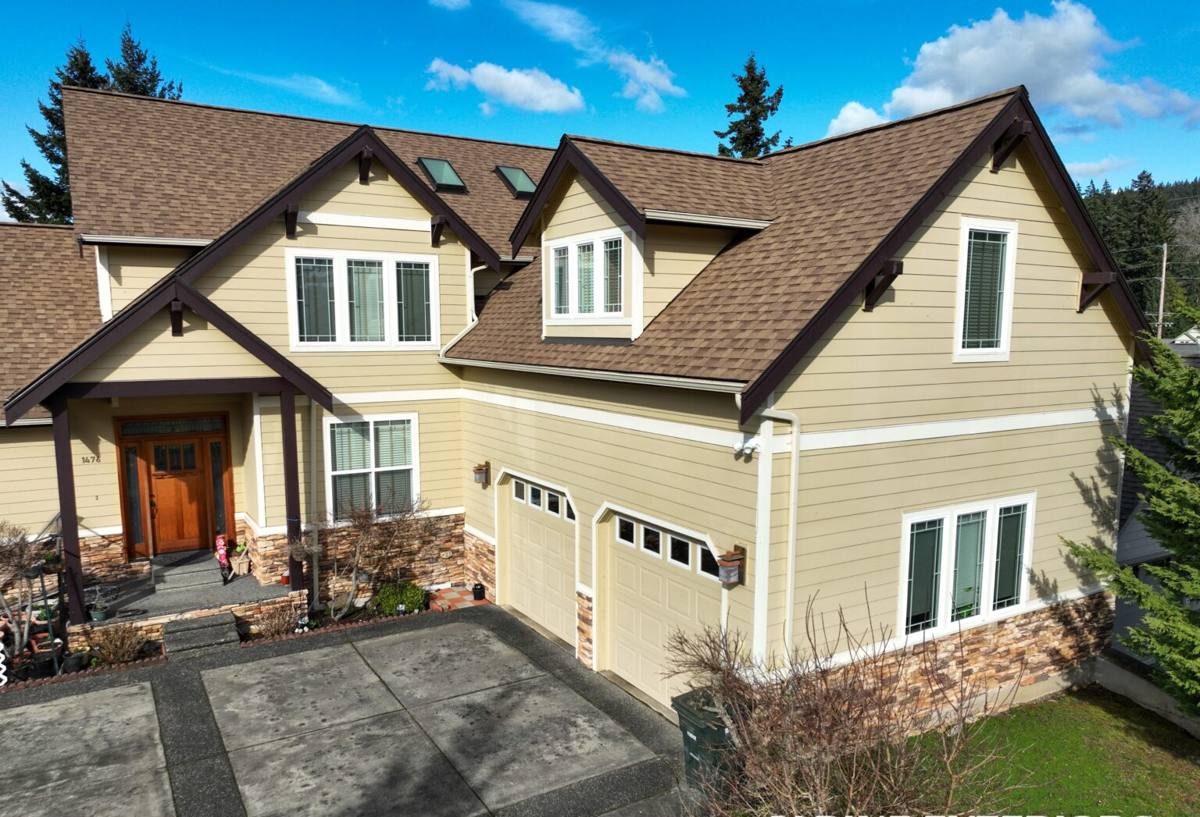
What Dakota Creek's Climate Asks of a New Window Opening
Blaine sits right on the water, and Dakota Creek homes see the combined effects of salt air, wind-driven rain, and a long stretch of the year where surfaces stay damp. None of these are dramatic on their own, but together they shape almost every decision in a new-construction window install — from the hardware specified to how the flashing is lapped.
Salt Air and Corrosion
Airborne salt accelerates corrosion on fasteners, hinges, locks, and screen frames faster than it does even a few miles inland. On a new build we spec corrosion-resistant fastener types at the window and pay attention to hardware finish, because a window that operates smoothly at final walkthrough should still operate smoothly in five years.
Driving Rain and Water Management
Storms off the Strait push rain sideways, not just down. That means a window opening needs real flashing — a sloped sill pan, properly lapped jamb and head flashing, and a sealed nail fin — not just a bead of caulk at the trim. Caulk is a backup line of defense, never the primary one.
Moss, Shade, and Standing Moisture
Whatcom County's long moss season means anything that holds moisture against wood or trim for weeks at a time will eventually cause problems, especially on shaded or north-facing elevations. Sill pitch, drainage gaps, and keeping weep holes clear all matter more here than they would in a drier climate.
What a Correct Install Actually Involves
A properly installed new-construction window is really a small system of layers, each one built to shed water down and out before it can get behind the wall. On our jobs that sequence looks like this, in order:
- WRB installed and lapped correctly at the rough opening before the window arrives
- Self-adhered flashing membrane at the sill first, then jambs, then head — always shingle-lapped so water sheds outward, never trapped
- A sloped sill pan so any water that reaches the opening drains back out, not inward
- Window set plumb, level, and square, with shims at the right load points — not just wedged in
- Low-expansion foam or fiberglass insulation at the rough opening gap, never solid can-foam that can bow a frame out of square
- Backer rod and sealant at the nail fin, sized to the manufacturer's gap specification
- Head flashing with a drip cap that laps over the WRB above it
- Weep holes and drainage paths left clear and unobstructed by trim or sealant
Skip or rush any one of these steps and the window can look perfect at move-in while quietly setting up a moisture problem that won't show itself for a few winters.
Choosing a Frame Material for This Climate
Frame material affects how a window holds up to salt air and constant moisture exposure over the long run. There's no single right answer for every home — it depends on budget, elevation exposure, and how the house is oriented to the water and prevailing weather.
| Frame Material | Salt Air / Corrosion | Moisture & Rot Risk | Maintenance | General Cost Tier |
|---|---|---|---|---|
| Vinyl | Good — won't corrode | Low, no wood to rot | Low | Lower |
| Fiberglass | Very good — stable and corrosion-resistant | Low | Low | Mid to higher |
| Aluminum-clad wood | Fair — exterior clad protects the wood, but seams and cuts need good detailing | Moderate if flashing or clad seams fail | Moderate | Higher |
| Bare aluminum | Poor in direct salt exposure without upgraded finishes | Low rot risk but frame itself can pit/corrode | Moderate to high | Varies |
For homes closer to the water or in more exposed locations around Dakota Creek, we lean toward vinyl or fiberglass for their resistance to salt-driven corrosion. Aluminum-clad wood windows can still be the right call for a specific look, but they demand more careful flashing and sealant work at every seam, and homeowners should understand the added maintenance that comes with wood behind the cladding.
Our Process, From Framing to Final Trim
- Plan review — we walk the window schedule against the plans with the builder or GC before rough openings are framed, catching sizing conflicts early.
- Rough opening check — every opening is measured and verified against the actual window order, not just the plan set, before anything is installed.
- WRB and flashing — the weather barrier and flashing membrane go in before the window is set, in the correct shingle-lap sequence.
- Setting the window — plumb, level, square, and properly shimmed and fastened per the manufacturer's schedule.
- Sealing and insulating — sealant at the fin, low-expansion insulation at the gap, interior air seal completed.
- Pre-siding inspection — every opening gets a visual check before the siding crew closes it in, since this is the last point anything is easily fixable.
- Siding integration — trim and final flashing details are coordinated with the siding crew so the two systems tie together correctly.
- Final walkthrough — operation, hardware, and sightlines are checked with you before we call it done.
Mistakes We Catch on New Builds
Most window callbacks on new construction trace back to a handful of repeat mistakes — usually from rushing the sequence to keep a build on schedule. On Dakota Creek jobs specifically, we watch for:
- Flashing lapped in the wrong order, so water is funneled behind the WRB instead of over it
- Missing or flat (unsloped) sill pans that let water pool instead of drain
- Caulk used as the primary seal instead of proper flashing tape
- Fasteners overdriven through the nail fin, cracking vinyl or distorting the frame
- Insulation gaps left at the corners of the rough opening
- Rough openings cut outside the window's tolerance, forcing shims to do work they shouldn't
- Weep holes taped or caulked shut during finishing
- No kick-out flashing where a roofline or deck meets the wall near a window
Why a Crew That Already Works Dakota Creek Matters
A window installer who's worked lots on this side of Blaine already knows which elevations take the worst of the wind off the water, which lots stay shaded and damp longer into the day, and how the wet season affects scheduling around dry-in. That local knowledge shapes real decisions — where to add extra flashing detail, which openings deserve closer attention, and how to sequence the work so windows aren't sitting exposed through a stretch of driving rain.
It also matters for coordination. New-construction work means fitting into an active job site with a framer, a GC, and often a siding crew all touching the same walls. A crew that's used to working alongside other Whatcom County trades keeps the schedule moving instead of becoming the bottleneck.
Timing and Working With Your Builder or GC
Windows typically go in right after the WRB is installed and before siding starts — the "dry-in" stage of a build. In this climate, how long a house sits open at that stage matters. The longer bare openings and exposed WRB sit through wind and rain, the more chances there are for water to find a weak spot before the building is closed in. We work with your builder or GC to slot window installation into the schedule at the right point, and if weather pushes the timeline, we make sure the WRB and openings are properly protected in the meantime rather than left exposed.
If you're building or framing a home in Dakota Creek and want a window installer who understands what this stretch of coastline does to a new opening, we're happy to walk your plans and give you a straightforward, no-pressure estimate — just fill out the form below.