 Blaine Siding
 New-Construction Windows Are a Different Job Than Replacement Windows
When a house is going up in Birch Bay, the windows aren't dropped into a finished wall the way they are on a remodel. They go in during framing, before the siding is on and often before the weather-resistive barrier (WRB) is fully wrapped and taped. That timing changes everything about how the job is done. A new-construction window has a nailing flange that gets integrated directly into the wall's water management system — the WRB, the flashing tape, the sill pan, and eventually the siding all have to work together as one assembly. Get that sequence wrong at the framing stage and there's no fixing it later without tearing into finished walls.
We install new-construction windows on builds and additions around Blaine and Birch Bay on a regular basis, working directly with framers and general contractors rather than as an isolated trade showing up after the fact. That coordination matters more here than in a lot of places, because Birch Bay's exposure to wind and water off the Strait of Georgia doesn't leave much room for a sloppy install to go unnoticed.
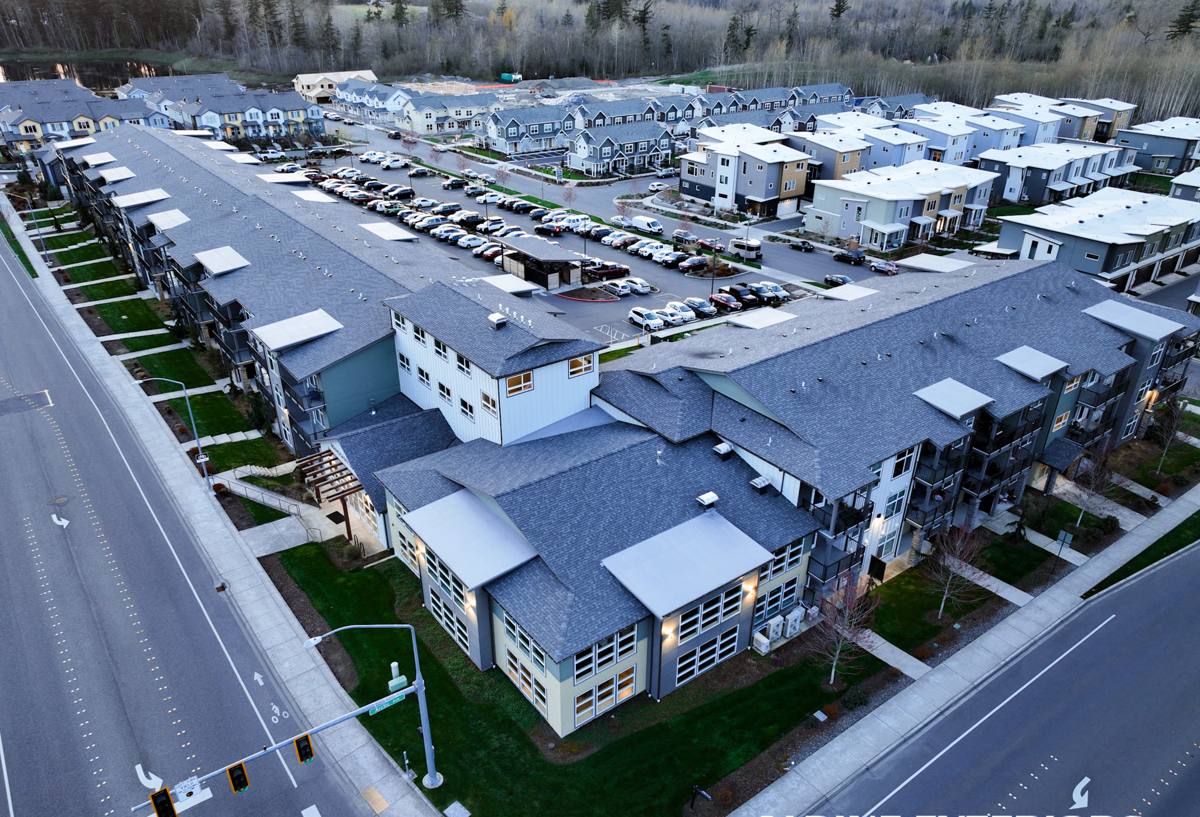
What Birch Bay's Waterfront Exposure Actually Does to a Window Opening
Birch Bay sits right on the water, and homes here take a different kind of weather than houses a few miles inland in Blaine or Custer. Three things drive how we detail a window opening out here:
Salt Air
Airborne salt from the bay accelerates corrosion on anything metal — screws, flashing, hardware, even some window frame components. It also breaks down cheap sealants and finishes faster than they'd fail in a drier, inland location. Materials that would be fine on a house a few miles away can start showing wear years earlier on a waterfront lot.
Driving Rain
Storms coming off the water push rain sideways into west- and southwest-facing walls, not just straight down. A window flashing detail that only handles water falling from above will eventually leak on a wall that's taking rain at an angle. The sill pan and the way the WRB laps over the flanges matter more here than they would on a sheltered inland lot.
Moss and Prolonged Dampness
Whatcom County's long wet season means anything that traps moisture against wood — poor flashing laps, missing kick-out details, trim that holds water — stays damp for months at a time instead of drying between rains. That's exactly the condition moss and rot need. It's not usually the window itself that fails first; it's the framing and trim around it that never gets a chance to dry out.
Frame Material: What Actually Holds Up on a Birch Bay Lot
There's no single "best" window frame material for every situation, but on a waterfront or near-waterfront lot the trade-offs are more pronounced. Here's how the common options actually perform in this environment, based on what we see when we're back on these houses years later.
| Frame Material | Salt Air / Moisture Behavior | Maintenance | Where It Fits Best |
|---|---|---|---|
| Vinyl | Won't corrode; UV and heat cycling over decades can affect seals and hardware | Low — occasional cleaning | Standard new builds, budget-conscious projects, most elevations |
| Fiberglass | Very stable dimensionally, resists corrosion, holds paint/finish well near salt air | Low to moderate | Exposed west/southwest elevations, higher-end builds |
| Aluminum-clad wood | Good exterior durability if the cladding and seams are intact; interior wood needs protection from any leak | Higher — relies on seams and finish staying sealed | Homes prioritizing a wood interior look, sheltered elevations |
| Bare aluminum | Prone to pitting and corrosion in direct salt air over time | Higher, ongoing | We steer builders away from this on direct waterfront exposure |
We don't push one brand or one material on every job. What we do insist on is matching the frame to the elevation's actual exposure — a north wall tucked behind other structures doesn't need the same spec as a west wall facing open water.
The Flashing Sequence We Follow on New Construction
This is the part of the job that determines whether a window leaks in year twelve, not year one. On a new-construction opening, the sequence has to happen in the right order, every time, with no shortcuts:
- Rough opening is checked for square, level, and correct dimensions before anything else happens.
- Sill pan flashing goes in first, sloped to drain outward, so any water that gets past the window has somewhere to go besides the framing.
- Self-adhered flashing tape is run up the jambs before the window is set.
- The window is set, shimmed, and fastened through the nailing flange per the manufacturer's installation instructions — this isn't optional, and it's also what keeps the warranty valid.
- Jamb flashing tape is completed, then head flashing goes on last, lapping over the WRB above the window — never tucked under it. Water has to be directed out and down at every layer, shingle-style, top piece always overlapping the one below it.
- The WRB is lapped and taped back over the flanges to tie the window into the wall's overall drainage plane before siding goes on.
Every one of those steps is easy to describe and easy to get backwards under time pressure on a job site. The order is what protects the house — a flashing detail installed out of sequence can look identical to a correct one until the wall gets opened up years later.
Energy Performance and Code Requirements in Whatcom County
Washington's state energy code sets minimum performance requirements for new-construction windows — generally expressed as a maximum U-factor, which measures how much heat the window assembly loses. Requirements are tied to the whole-house energy compliance path your builder or designer is using, not a single fixed number for every project, so the exact target depends on the rest of the home's envelope and heating system. What we can tell you as installers:
- Whatever U-factor and SHGC (solar heat gain coefficient) ratings are specified on your plans need to be met by the actual glass package ordered — not just the frame model, since the same frame line often comes in multiple glass options.
- Orientation matters for comfort, not just code compliance. West-facing glass on an open Birch Bay lot picks up more afternoon sun and more wind-driven weather than a sheltered north wall.
- Low-E coatings and gas-filled double-pane units are standard on new construction here; triple-pane is worth discussing for particularly exposed elevations but adds cost and weight that should be weighed against the actual benefit for that wall.
- Your window supplier's documentation (NFRC label) is what an inspector or energy code reviewer will actually check — we keep that paperwork organized through the build for exactly that reason.
How We Coordinate With Your Builder's Schedule
New-construction window install has to slot into a tight window in the framing sequence — after rough framing and WRB prep, before siding starts. We work directly with your general contractor or framer on timing rather than treating the window install as a separate errand:
Before Delivery
We confirm rough openings against the actual window order — sizes, swing direction, grille patterns, and hardware finish — before windows are ordered, so we're not discovering a mismatch on install day.
On Install Day
We check every opening for square and correct WRB prep before setting a single window. If something's off in the framing, we flag it to the builder immediately rather than forcing a window into an opening that isn't ready.
After Install, Before Siding
We walk every opening again before siding crews close it in. That's the last point anyone can visually confirm the flashing was done correctly without cutting into a finished wall, so we don't skip it.
Why a Blaine-Based Crew Matters for a Birch Bay Build
We're not driving in from Bellingham or further south to do a one-off install. Working Blaine and Birch Bay regularly means we already know how the local building department reviews new-construction window installs, what inspectors here tend to flag, and how exposed a given lot actually is once you account for its orientation to the water. That local knowledge shows up in small decisions — which elevations get the more corrosion-resistant hardware, where an extra course of flashing tape is worth the ten minutes it takes — that a crew unfamiliar with this stretch of coastline might not think twice about.
It also means we're easy to get back on-site if your builder's schedule shifts, which it almost always does. A short drive from Blaine beats waiting on a crew that has to travel in from elsewhere every time a framing delay pushes the window install back a week.
What to Confirm Before Your Windows Go In
If you're building in Birch Bay and working through window selection with your builder, this is worth walking through before the order gets placed:
- Frame material matches the actual exposure of each elevation, not a single spec applied to the whole house
- U-factor and SHGC ratings on the order match what's specified on your approved plans
- Sill pan flashing is included in the install scope, not assumed to be "part of the window"
- Fastening follows the window manufacturer's instructions specifically — this is what keeps the product warranty intact
- WRB and flashing tape brands are compatible with each other (some combinations don't bond reliably)
- Someone is walking every opening after install and before siding closes it in
- Hardware finish and screws specified are rated for coastal/salt-air exposure, not standard interior-grade fasteners
If your contractor can't answer these clearly, it's worth asking before framing gets much further along — these are cheap fixes before siding goes on and expensive ones after.
If you're building or adding on in Birch Bay and want a straight answer on window specs, flashing details, or timeline coordination with your framer, we're happy to take a look and put together a free, no-pressure estimate — just fill out the form below.