 Blaine Siding
 Why California Creek Homes Put Windows to the Test
Homes along California Creek and the surrounding low-lying land near Blaine sit close to tidal water, wetlands, and open exposure off the Salish Sea. That combination is harder on windows than most homeowners realize until they're dealing with fogged glass, swollen sashes, or corroded hardware a few years after a builder-grade install. Salt-laden air moves in off Drayton Harbor and Boundary Bay, wind-driven rain hits west and south-facing walls at an angle instead of straight down, and Whatcom County's long, mild, wet winters mean months of standing moisture and shade-grown moss on anything that doesn't drain and dry properly.
None of that makes windows here impossible to get right — it just means the product and the installation both have to be chosen for the actual conditions, not for a spec sheet written for a drier climate. That's the difference between a window that looks fine for two years and one that performs for twenty.
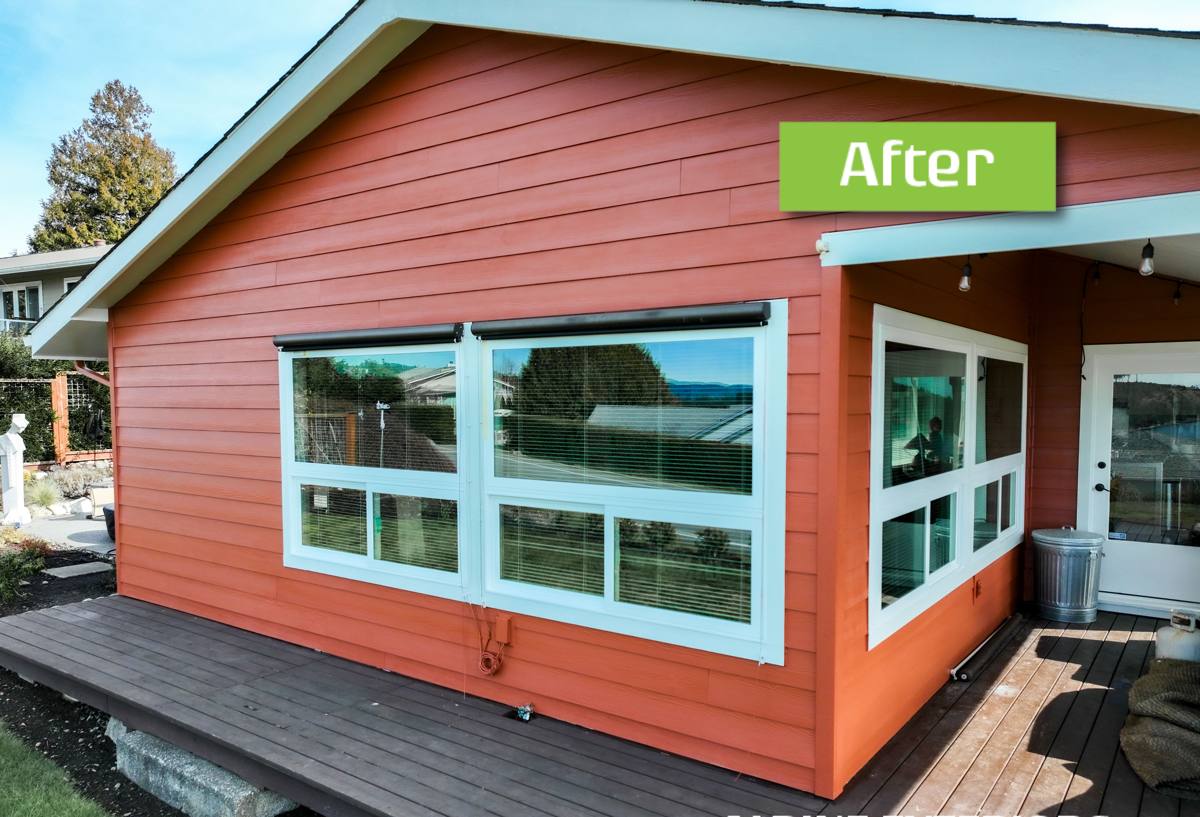
What This Exposure Actually Does to a Window Over Time
It helps to understand the specific failure modes we see repeatedly on homes in this part of Whatcom County, rather than treating "coastal climate" as a vague warning label.
- Salt air corrosion: Airborne salt settles on metal hardware, screws, and uncoated aluminum components, accelerating pitting and corrosion faster than an inland home would ever see.
- Wind-driven rain intrusion: Storms off the water don't just fall on a window — they push against it. Flashing and sealant details that would be adequate in a calmer climate can let water track behind the frame here.
- Moss and organic growth: Long wet seasons with limited direct sun on north and shaded elevations let moss and algae take hold on sills, trim, and low-slope sun screens, holding moisture against the frame.
- Wood rot at the sill and jamb: Any water that does get behind a poorly sealed frame has months of damp, cool weather to work on wood before a dry stretch ever shows up to let it dry out.
- Condensation and fogging: Persistent humidity plus temperature swings between a heated interior and a cold, wet exterior stresses seals on double- and triple-pane units, which is usually the first visible sign of a failing window.
Reading Your Home's Specific Exposure
Not every wall on a California Creek-area home takes the same beating. Before we talk products, we look at orientation, tree cover, roof overhang, and how close the home sits to open water or wetland. A window on a sheltered, tree-shaded elevation can often use a simpler detail than one on an exposed wall facing the prevailing weather. Treating every window on the house the same — which is what a lot of quick bids do — usually means overpaying on the easy walls and underbuilding the hard ones.
Choosing the Right Window for This Climate
There's no single "best" window material — there's the right material for a given wall, budget, and maintenance appetite. Here's how the common options actually hold up in a salt-air, high-rain environment like this one.
| Frame Material | Salt Air / Moisture Behavior | Maintenance | Where It Fits Best |
|---|---|---|---|
| Vinyl | Won't corrode or rot; seams and welds matter more than the material itself | Low — occasional cleaning | Most walls, budget-conscious full-home replacement |
| Fiberglass | Very stable in wet, temperature-swinging conditions; dimensionally stable in rain and cold | Low | Exposed, weather-facing walls; larger openings |
| Aluminum-clad wood | Good exterior protection if cladding and seals are done right; interior wood still needs protection from any leak | Moderate | Homes wanting a traditional wood interior look with better exterior durability |
| Bare wood | Highest maintenance burden in this climate; requires diligent refinishing and sealing | High | Historic or architecturally specific homes where owners accept the upkeep |
| Uncoated aluminum | Prone to pitting and corrosion from salt exposure over time | Moderate to high | Generally not our recommendation for this exposure |
We're not going to tell you a given brand or material is "bad" — every one of these has a legitimate use. Our job is matching the material to the wall it's going on and being honest about the maintenance you're signing up for with each choice, especially on elevations that take direct weather off the water.
Glass and Seal Package
In this climate, the glass package matters as much as the frame. We typically recommend dual-pane units with a warm-edge spacer system and low-E coatings suited to the Pacific Northwest's mix of overcast, mild-to-cool temperatures — prioritizing condensation resistance and seal durability over glass options built for hot, dry, high-UV regions.
What a Correct Custom Window Installation Actually Involves
Most window failures we get called out to inspect aren't a bad window — they're a bad installation around a decent window. In a wind-driven rain environment, the details around the frame do more work than the frame itself.
- Remove and inspect the opening. Old sealant, trim, and sometimes siding come off so we can see the actual condition of the rough opening — not just caulk over a problem.
- Address any existing damage. Rot, soft framing, or prior water intrusion gets repaired before a new window ever goes in. Installing a new window over a compromised opening just delays the same failure.
- Install flashing in the correct sequence. Sill pan flashing, jamb flashing, and head flashing go in shingle-style — each layer overlapping the one below it — so water is directed out and down, never trapped behind the frame.
- Set the window level, plumb, and square. A window that's slightly racked stresses seals and hardware from day one, which shows up as premature wear in a high-moisture climate faster than it would elsewhere.
- Seal and insulate properly. Low-expansion foam and the right sealant at the right joints — not sealant used as a substitute for correct flashing.
- Finish trim and drainage details. Sills need a slight slope to shed water, and trim needs a gap or drip edge so water doesn't wick back into the wall assembly.
Our Process, Start to Finish
1. On-Site Assessment
We walk the home with you, wall by wall, and talk through which elevations are taking the most weather, what's failing on the existing windows, and what you actually want out of the replacement — energy performance, easier maintenance, or just stopping a leak.
2. Straightforward Proposal
You get a written scope covering material, glass package, flashing approach, and a real cost range — no vague allowances that turn into surprise add-ons once we open the wall.
3. Scheduling Around the Weather
We plan installs around Whatcom County's wetter stretches where we can, and we protect open wall sections properly on any day the weather turns while a window is out.
4. Installation
One opening at a time, following the sequence above, so your home isn't left exposed longer than necessary.
5. Walkthrough
We check operation, sealing, and finish work with you before we consider the job done.
Maintenance That Actually Matters Here
Even a correctly installed window benefits from a bit of seasonal attention in this climate. This isn't a demanding list — it's the short version of what keeps a good installation good.
- Rinse salt residue and grime off frames and glass a couple times a year, especially on water-facing elevations.
- Clear moss and debris from sills, weep holes, and tracks before it holds moisture against the frame.
- Check that weep holes (the small drainage openings along the bottom of the frame) are open and not painted or caulked shut.
- Look at exterior caulk lines once a year and re-seal any that have cracked or pulled away.
- Watch for condensation between panes — it's the clearest early sign of a failed seal, not something to ignore as "just moisture."
Signs You're Overdue for a Look
Soft or discolored wood at the sill, drafts you can feel with a hand near the frame, hardware that's stiff or corroded, persistent fog between panes, or moss establishing itself on trim are all reasons to have a window looked at before a small issue becomes a wall repair.
What Drives the Cost of a Window Project Here
| Factor | Why It Matters in This Climate |
|---|---|
| Number and size of openings | Larger openings need more robust framing and flashing detail to manage wind load and water |
| Frame material chosen | Vinyl, fiberglass, and clad-wood carry different material and labor costs |
| Condition of existing openings | Rot or prior water damage found during removal adds repair scope before the new window goes in |
| Wall exposure | Weather-facing elevations often warrant a more thorough flashing and sealant package than sheltered walls |
| Access | Second-story or hard-to-reach openings affect labor time and equipment needs |
We give real ranges up front based on what we see on your specific walls, not a single flat number that ignores exposure and condition.
Why a Crew That Already Works This Area Makes a Difference
A contractor who works California Creek and the surrounding Blaine area regularly already knows which elevations tend to take the worst of the wind-driven rain, what moss and moisture damage typically looks like on homes out here, and how to sequence a job around Whatcom County's wetter months. That familiarity shows up in fewer surprises once a wall is opened up and in a finished installation built for the exposure your home actually has — not a generic spec sheet. It also means a crew that's answerable locally if a question comes up after the install, rather than a name that shows up once and moves on.
If you're weighing a full window replacement or just want an honest read on whether your current windows are doing their job in this climate, we're happy to take a look. Reach out for a free, no-pressure estimate using the form below — we'll walk the home with you and give you a straight answer, not a sales pitch.