 Blaine Siding
 Why Siding Fails Faster in Cherry Point Than Farther Inland
Cherry Point sits right on the water north of Blaine, and that waterfront exposure changes how siding ages. Homes here take a steady dose of salt-laden air off the Strait of Georgia, wind-driven rain that gets forced sideways into seams and laps, and long stretches of shaded, damp weather that keep moss and algae established on north- and west-facing walls for months at a time. None of that is unique to any one house — it's the baseline climate load every structure out here absorbs year after year.
Salt air is corrosive to exposed metal fasteners, flashing, and trim over time. Driving rain finds any gap in a lap joint, a mis-caulked window trim, or a fastener that backed out slightly, and pushes water behind the siding rather than letting it run off the face. And moss doesn't just look bad — it holds moisture against the siding surface far longer than a clean, dry wall would, which is exactly the condition that accelerates rot in wood-based products and degrades the paint film on anything not engineered for a wet climate. Whatcom County's marine climate makes this a year-round condition, not a seasonal one.
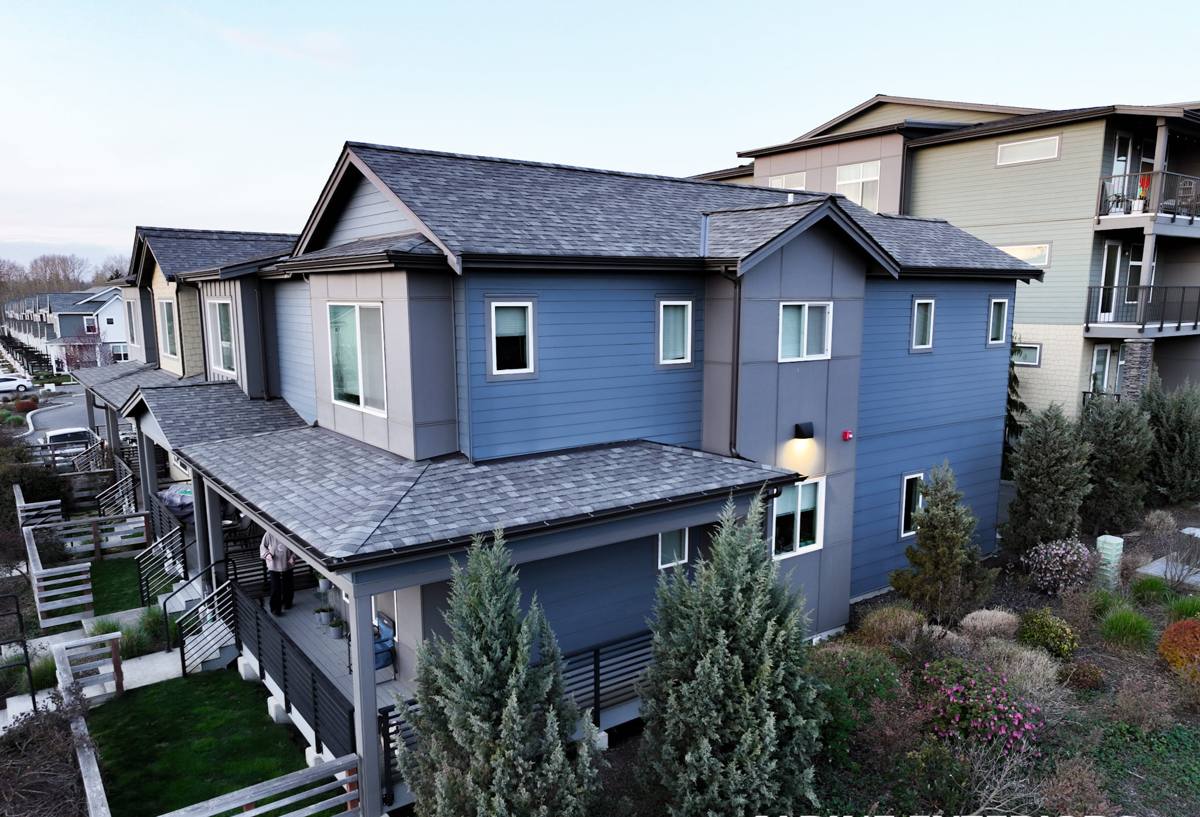
Signs a Cherry Point Home Needs Siding Repair — Not Full Replacement
Most of the time, damage shows up in specific spots long before the whole siding system is compromised. Catching it early is what keeps a job a repair instead of a replacement. Watch for:
- Soft or spongy spots when you press on the siding, especially near the bottom courses and around window and door trim
- Visible gaps or separation at lap joints and corner boards after a wind event
- Persistent moss or algae staining that comes back within weeks of cleaning
- Peeling, bubbling, or chalky paint concentrated on one elevation, usually the side that catches the most wind-driven rain
- Warping, cupping, or visible fastener heads popping through the surface
- Discoloration or staining on interior walls or ceilings near exterior corners — a sign moisture has already gotten past the siding
- Small animal or insect entry points at damaged panel edges
Any one of these on its own is usually a localized repair. Several of them together, especially combined with soft sheathing underneath, is a sign the damage has spread further than the surface suggests.
Diagnosing the Cause Before Patching
A repair that only addresses the visible symptom tends to fail again within a season or two. Before we touch a panel, we want to know why that spot failed — a missing kickout flashing, a caulk joint that dried out and cracked, a fastener pattern that didn't account for expansion, or simply age and sun/rain exposure catching up with the material. Pulling a section of siding to check the underlying sheathing and house wrap is a normal part of a proper repair, not an upsell. If the water intrusion has been going on a while, that sheathing is often the real problem, not the siding itself.
Matching Existing Siding
On a repair, matching the existing product's profile, exposure, and finish matters as much as the workmanship. A patch that's a slightly different reveal or a visibly different sheen stands out immediately, and mismatched materials can behave differently in moisture, which sets up future problems at the seam between old and new. When an exact match isn't available — which is common on older homes with discontinued products — we'll talk through the options honestly rather than force a mismatch.
What a Correct Siding Repair Actually Involves
A repair done right isn't just pulling a bad board and nailing up a new one. On a coastal property, the sequence matters:
- Confirm the extent of damage by removing enough surrounding material to see healthy substrate on all sides
- Inspect and, if needed, replace the house wrap or building paper behind the damaged area
- Check framing and sheathing for soft spots and address any rot before new siding goes back up
- Re-flash windows, doors, and any penetrations in the repair zone according to proper water-management sequencing (each layer overlapping the one below it, shingle-style)
- Install matching siding material with correct fastening and clearance
- Seal and paint or finish to match, using products suited to a marine climate
Skipping the flashing and sheathing steps to save time is the single most common shortcut that causes a "repaired" area to fail again within a year or two — usually right around the next heavy rain event.
Repair vs. Replacement: How We Decide
Not every damaged section justifies tearing off the whole wall, but there's a point where patchwork repair stops making financial sense. We walk every Cherry Point job through the same honest comparison:
| Factor | Favors Repair | Favors Full Replacement |
|---|---|---|
| Extent of damage | Isolated to one or two elevations or a handful of panels | Present across most walls, or recurring in new spots each year |
| Age of existing siding | Well within its expected service life | Already near or past the material's typical lifespan |
| Underlying sheathing | Dry, solid substrate found during inspection | Rot or moisture found at multiple repair locations |
| Material availability | Existing product still available or a close match exists | Discontinued profile, color, or product line |
| Cost over time | Repair cost is a small fraction of full replacement | Repeated repairs are adding up close to replacement cost |
If the inspection turns up widespread moisture damage behind a repair area, we'll tell you that plainly rather than patch over a bigger problem. It's cheaper for you to know now than to pay for the same repair twice.
Why the Original Siding Material Affects the Repair Decision
What the home is currently clad in changes both the repair approach and the long-term recommendation. Vinyl siding can crack in cold snaps and doesn't hold paint if you want a color change, but it's straightforward to patch when a matching panel exists. Wood and primed spruce products are the most vulnerable to the exact conditions Cherry Point sees most — sustained dampness and shaded, slow-drying walls — and repairs on those products often uncover more rot than expected once we open the wall up. Engineered wood products like LP SmartSide hold up better than raw wood but are still wood-based at the core, meaning cut edges and fastener penetrations need consistent sealing to keep moisture out over time.
When we're repairing a section on a home clad in one of these materials, we'll match it if that's what makes sense for the scope of work. But if damage is recurring in the same area, or if a full elevation needs re-siding, we'll be upfront that our standard installation is James Hardie fiber cement — it's non-combustible, engineered specifically for wet climates in its HZ5 product line, holds a factory-applied ColorPlus finish that doesn't need repainting on the same schedule as wood, and carries a strong transferable warranty. We don't install vinyl, LP SmartSide, or cedar/primed wood siding as our own installations, and we're happy to walk through why in plain terms rather than just asserting it.
Our Repair Process
Every Cherry Point repair follows the same sequence, whether it's one panel or a full elevation:
- Inspection: We look at the damaged area and the surrounding siding, checking for moisture, soft spots, and the root cause of the failure
- Scope and estimate: You get a clear explanation of what we found, what needs to happen, and an honest repair-vs-replace recommendation before any work starts
- Material sourcing: We source a matching product where possible, or discuss realistic alternatives if the original isn't available
- Repair work: Removal, substrate repair, correct flashing and water-management sequencing, and installation of new material
- Finish and cleanup: Sealing, paint or color matching as needed, and full site cleanup — nails and debris don't get left in the yard
Keeping Repaired Siding Healthy in Cherry Point's Climate
A good repair buys you time, but the same conditions that caused the original damage are still present. A few habits go a long way:
- Rinse moss and algae off shaded walls before it gets established, rather than after it's visibly thick
- Keep gutters clear so overflow isn't running down the siding face during heavy rain
- Trim back vegetation and tree cover that keeps a wall shaded and slow to dry
- Walk the exterior once or twice a year, especially after winter storms, and check caulk joints and trim for cracking
- Address small issues — a lifted panel corner, a cracked caulk line — before the next rainy season rather than after
Why Hiring a Crew That Already Works Cherry Point Matters
A siding repair crew that mostly works drier, inland parts of Whatcom County can still do competent carpentry, but they may not automatically account for how aggressively this specific stretch of coastline treats a wall. Knowing which elevations typically take the worst wind-driven rain, how quickly moss re-establishes on a shaded wall out here, and what a repair needs to hold up through another wet season isn't guesswork — it's pattern recognition built from working this area repeatedly. That translates into fewer surprises during the inspection and a repair that's built for the actual conditions the wall will face, not a generic fix.
If you're seeing damage, staining, or soft spots on your siding, we're glad to take a look and give you a straightforward, no-pressure assessment of what's going on and what it would take to fix it right. Fill out the form below for a free estimate.