 Blaine Siding
 Building New in Nooksack? The Windows Are Where Water Management Starts
If you're framing a new home or a good-sized addition in Nooksack, the windows are one of the few places in the building envelope where the framer, the siding crew, and the window installer all have to hand off their work cleanly to each other. Get that handoff wrong — even by a quarter inch of missed flashing lap — and you won't see it for a year or two. Then it shows up as a soft spot under a sill, a stain on interior drywall, or a slow mold smell in a closet that backs up to an exterior wall. In the Nooksack River valley, where the rain runs long and steady for much of the year and humidity lingers in the low ground near the river, that kind of slow leak has more time to do damage before anyone notices it.
We install new-construction windows on new builds and additions throughout Whatcom County, and Nooksack jobs get treated the same way as any coastal or valley site in this region: assume wind-driven rain will hit that wall, and detail the opening so the water has nowhere to go but back out.
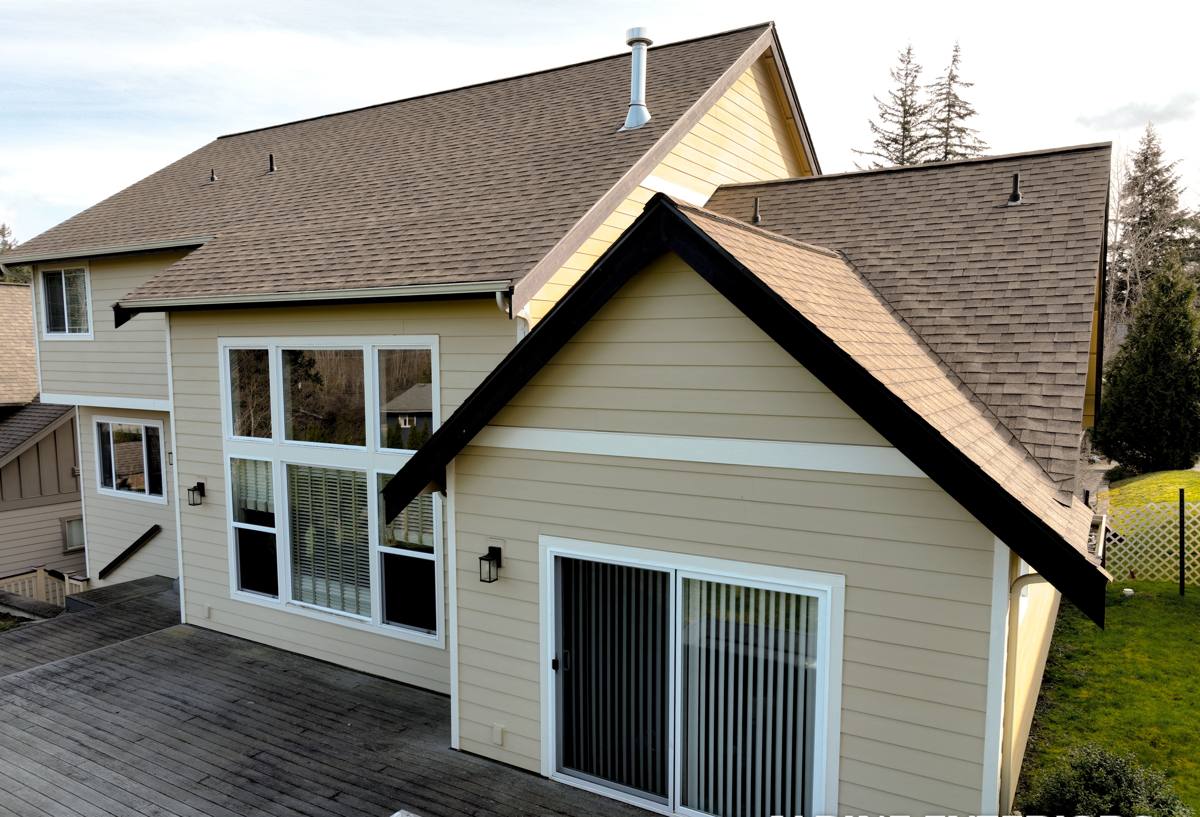
What "New-Construction Window" Actually Means
This is a different job than swapping out an old window in a finished wall. New-construction (or "nail fin") windows have a flange around the perimeter that gets fastened directly to the sheathing before the water-resistive barrier (WRB) and siding go on. That flange is what ties the window into the rest of the wall's drainage plane. Because the wall isn't finished yet, we get to build the water management system in the correct order from scratch — sill pan first, window next, WRB and flashing tape layered over the flange last, house wrap or siding over that. Done in that sequence, water that gets behind the siding drains down and out, over the sill pan, without ever reaching the framing.
Retrofit or "pocket" replacement windows, by contrast, get set into an existing frame with the old exterior finish still in place, and rely much more on sealant than on a shingled, overlapping drainage plane. New construction gives us the better option, and on a fresh build there's no reason to settle for anything less than the full flashing sequence.
Why the Nooksack Valley Climate Changes the Install
Whatcom County doesn't get hurricanes, but it gets something arguably harder on a building envelope: months of low-intensity, wind-driven rain interrupted by short, heavy systems. Add the valley's tendency to hold moisture and shade near tree lines and north-facing walls, and you get long moss and algae seasons that keep siding and trim damp for extended stretches rather than drying out quickly between storms. A short distance west, homes closer to Blaine and the water deal with salt air on top of that, which is part of why our crews default to corrosion-resistant fasteners and flashing hardware on every job in this region, coastal or not — it's cheap insurance and there's no reason to save a few dollars on fasteners that are the first thing to fail.
For a Nooksack build specifically, the practical implications are:
- Sill pans and end-dam flashing aren't optional extras — they're the difference between water draining out and water pooling on the sill.
- Sealant choice matters more here than in a dry climate; the wrong sealant skins over but doesn't stay flexible through repeated wet-dry cycles and eventually cracks.
- Overhangs and window placement relative to prevailing wind and rain exposure affect how much flashing detail a given elevation actually needs.
- Anything that stays damp long enough grows moss or mildew — window sills, mulled unit joints, and trim returns included — so smooth, well-sealed details that don't trap water are worth the extra attention during install.
What a Correct Installation Involves
Rough Opening and Flashing Sequence
Before a window ever goes in, the rough opening gets checked for square, level, and correct sizing — manufacturers spec a specific gap around the unit for shimming and expansion, and an opening that's cut too tight or too loose causes problems either way. Flashing then goes on in a shingle-lap order: sill pan first, jambs next, head last, each layer overlapping the one below it so water sheds downward and outward no matter which direction it's traveling.
Sill Pans
A sill pan is a sloped, sealed pan under the window that catches any water that gets past the glazing or frame joints and directs it back outside rather than letting it sit on the raw sheathing. On a valley site like Nooksack, where the ground can stay saturated for stretches, we treat a sill pan as standard on every new-construction window, not just the ones facing the weather.
Window-to-WRB Integration
The window's nailing flange has to tie into the house wrap or building paper correctly — WRB overlapping the top flange, tucked under and taped at the sides and bottom — so the whole wall functions as one continuous drainage plane instead of a patchwork of separate barriers with gaps at every window.
Sealant and Backer Rod
Interior and exterior sealant joints serve different purposes — the exterior joint sheds bulk water, the interior joint controls air leakage — and using the wrong sealant in the wrong location is a common source of premature failure. We use backer rod to control joint depth and a sealant rated for the substrate and exposure, not whatever's cheapest on the shelf that week.
Choosing Window Products for This Climate
There's no single "best" window material — it's a set of trade-offs, and the right call depends on the home's design, budget, and how much upkeep the owner wants to take on.
| Frame Material | Moisture Behavior | Maintenance | Typical Fit |
|---|---|---|---|
| Vinyl | Won't rot or corrode; performs well in wet climates | Low — occasional cleaning | Most new-construction budgets |
| Fiberglass | Dimensionally stable through wet/dry and hot/cold cycles | Low | Larger units, higher-end builds |
| Wood-clad | Good if detailed and finished correctly; cladding must stay sealed at joints | Higher — finish and joints need periodic attention | Homeowners who want a wood interior look |
| Aluminum | Conducts cold and can condense in this climate unless thermally broken | Low | Specific architectural applications |
Whatever frame material you choose, we push equally hard on the glazing package — a low-E, argon-filled, dual-pane unit with a U-factor and solar heat gain coefficient suited to the Pacific Northwest keeps energy bills reasonable and cuts down on interior condensation on cold, damp mornings, which is its own moisture problem if ignored.
Our Process on a New-Construction Job
- Plan review and rough opening check — we confirm window sizes and rough openings against the plans before framing is finalized, catching sizing conflicts early.
- Pre-installation inspection — sheathing, rough openings, and WRB (if already applied) get checked for square, level, and proper prep.
- Flashing and sill pan installation — done before the window is set, in the correct shingle-lap order.
- Window setting and shimming — units are set plumb, level, and square, shimmed at manufacturer-specified points, and fastened per the manufacturer's schedule (this affects warranty coverage).
- Flange taping and WRB integration — the flange is taped and tied into the WRB so the drainage plane stays continuous.
- Interior and exterior sealing — appropriate sealants at each joint, backer rod where needed.
- Final check — operation, sealing, and visual inspection before siding crews close the wall.
Common Mistakes We Catch on Local New Builds
- Nailing fins fastened solidly on all four sides, which restricts the expansion and contraction the unit needs and can crack corner seals over time.
- Sill pans skipped or improvised with sealant alone instead of a proper sloped pan.
- House wrap taped over the top flange instead of tucked under it, sending water behind the barrier instead of over it.
- Wrong sealant used at the exterior joint — one that skins over but doesn't stay flexible through repeated wet-dry cycles.
- Shims left uninsulated at the rough opening gap, creating a cold spot that condenses on humid days.
Cost Factors on a Nooksack New-Construction Window Job
| Factor | Why It Moves the Price |
|---|---|
| Number and size of openings | More units and larger glass mean more material and labor hours |
| Frame material | Vinyl is typically the most budget-friendly; fiberglass and wood-clad cost more upfront |
| Glazing package | Higher-performance low-E/argon glass costs more but pays back in comfort and energy use |
| Wall exposure and design | Elevations with little roof overhang or heavy rain exposure need more flashing detail and time |
| Site access and building stage | Coordinating around other trades on an active job site affects scheduling and efficiency |
We're happy to walk through actual numbers for your specific plan set — window pricing varies too much by size, brand, and glazing option to quote in general terms.
Why Hire a Crew That Already Works in Nooksack and Whatcom County
New-construction window installation isn't complicated in concept, but it's unforgiving of shortcuts, and it only gets inspected once before it's covered by siding. A crew that regularly works this part of Whatcom County knows what the local rain patterns and valley humidity actually do to a wall over a few winters, coordinates flashing details with local building department expectations, and isn't guessing at which sealants and fasteners hold up here versus in a drier climate. We'd rather spend the extra twenty minutes per window getting the flashing sequence right than come back in three years to open up a wall.
If you're planning a new build or addition in Nooksack, we're glad to walk your plans, talk through window and flashing options for your specific site, and give you a straightforward, no-pressure estimate — just fill out the form below.